
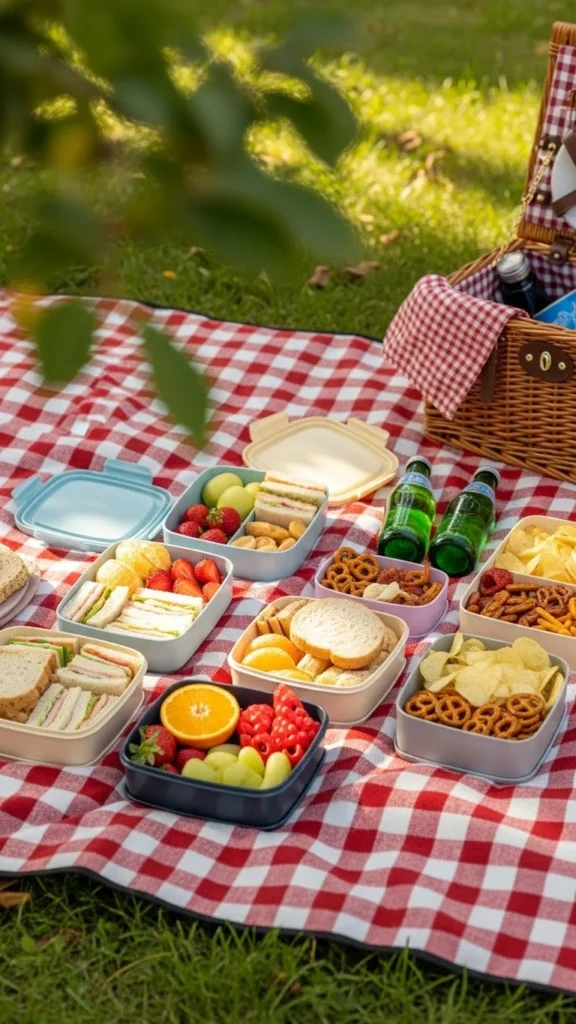
Planning a picnic sounds romantic and aesthetic—until your sandwiches get soggy, your fruit leaks everywhere, and your snacks crumble into chaos. The secret to a perfect picnic isn’t just what you pack… it’s how you prepare it. With a few simple strategies, you can create foods that survive travel, heat, and movement—while still tasting fresh and delicious.
1. Choose Ingredients That Hold Up Well
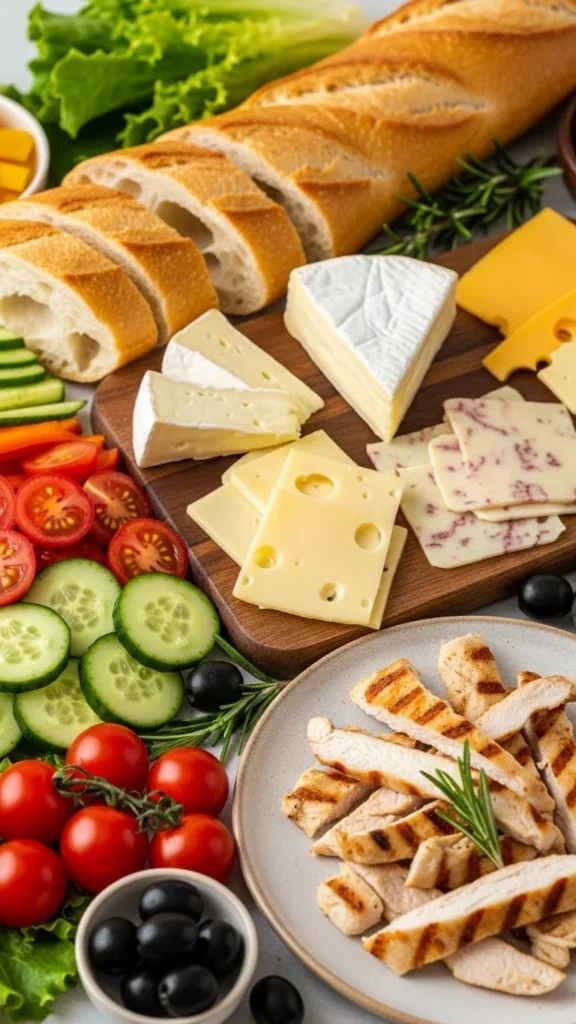
When you’re traveling with food, texture and structure matter more than you think. Some ingredients wilt or leak, while others stay firm for hours.
Pick These Travel-Friendly Ingredients
- Crisp veggies like cucumbers, carrots, and bell peppers
- Firm cheeses like cheddar, gouda, or mozzarella
- Sturdy breads like ciabatta, baguettes, or sourdough
- Proteins that don’t spoil quickly (grilled chicken, boiled eggs, chickpeas)
Avoid foods that go mushy fast—like lettuce drenched in dressing or tomatoes cut too early.
2. Prep Smart: Build Foods That Don’t Fall Apart
The way you layer and assemble your picnic foods can make or break how they travel.
1. The “Moisture Barrier” Trick
Place dry ingredients like cheese, lettuce, or meat on the inside and wet ingredients like tomatoes or spreads in the center.
This prevents the bread from getting soggy.
2. Pre-Chill Foods Before Packing
Cold food travels better—cool salads, pasta, or fruits stay fresher and safer in warm weather.
Place them in the fridge for at least 30 minutes before packing.
3. Keep Dressing and Sauces Separate
If you’re making:
- Pasta salad
- Green salad
- Sandwiches with sauces
Store dressings in tiny containers and drizzle only when it’s time to eat.
3. Pack Foods in the Right Containers
The right container ensures everything arrives safely—no spills, no crushed snacks, no surprises.
Choose These Types of Containers
- Airtight containers for salads, fruits, and mains
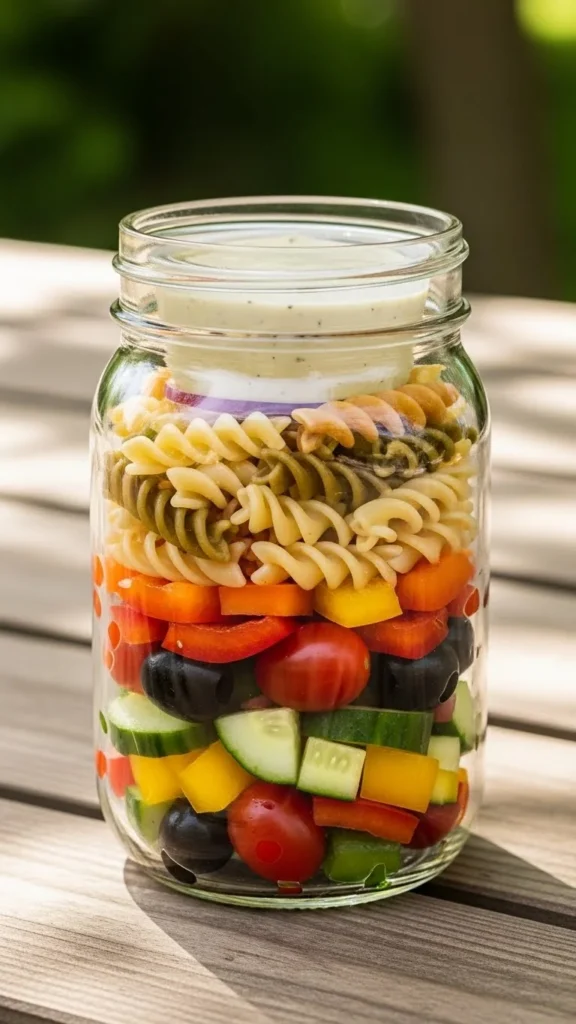
- Glass jars for layered salads or dips
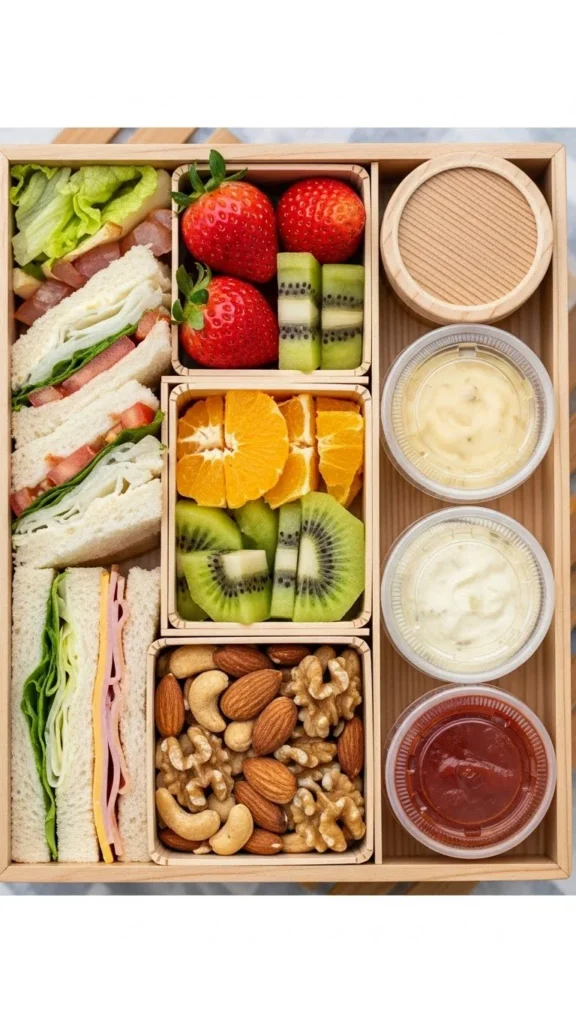
- Sturdy bento-style boxes for snacks
- Insulated containers for warm items like wraps or grilled chicken
If you’re packing delicate items—berries, cookies, pastries—use small containers so they don’t get squished under larger foods.
4. Make Foods That Actually Taste Better After Sitting
Some dishes improve after a little time—perfect for picnics.
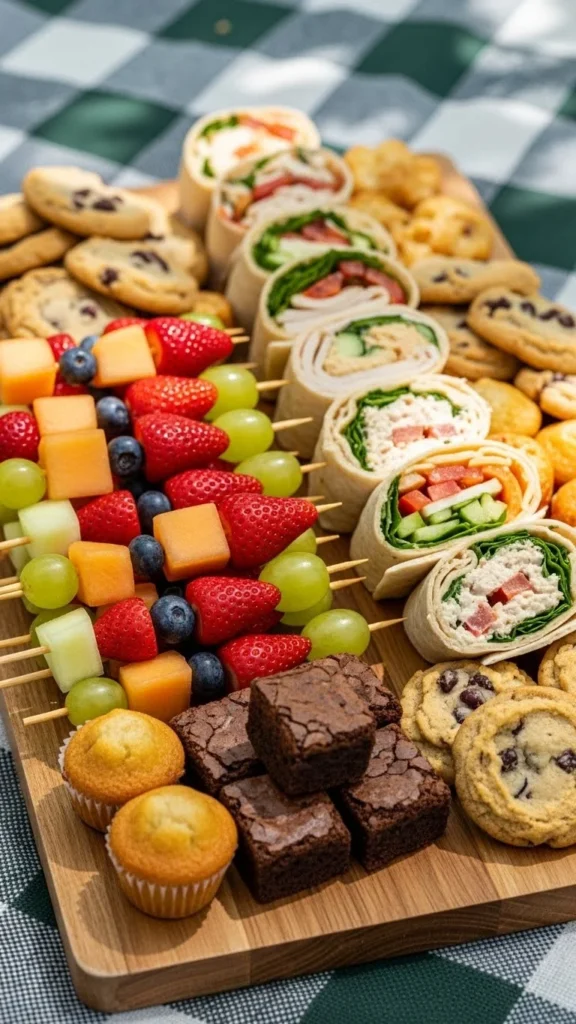
Best Picnic-Friendly Options
- Pasta salads (the flavors soak in beautifully)
- Cold wraps (use strong ingredients like hummus, grilled chicken, spinach)
- Fruit skewers (less messy than fruit bowls)
- Cheese + charcuterie boxes (low effort, high payoff)
- Baked goods like muffins, brownies, or scones (travel perfectly)
Bonus Tip: Pre-cut Everything
Chop fruit, slice sandwiches, divide snacks, and remove food packaging beforehand.
It saves time and reduces mess at the picnic spot.
5. Keep Everything Cool and Fresh
Temperature control is one of the most important parts of picnic prep.
Use These Cooling Strategies
- Freeze a few water bottles to use as ice packs
- Use insulated bags or coolers
- Place perishable foods closest to ice
- Keep snacks and dry foods in a separate container
- Try to pack everything tightly—less air helps food stay cool longer
If you’re picnicking on a hot day, keep the cooler in the shade whenever possible.
Final Touches: Don’t Forget the Extras
A stress-free picnic is all about the details.
Pack These Extras
- Napkins and wet wipes
- Small trash bags
- Reusable forks, spoons, and knives
- A small cutting board
- Seasonings (salt, pepper, chili flakes)
- Reusable water bottles
Little things make a big difference—especially when you’re far from home.
Conclusion
Preparing picnic foods that travel well is a mix of simple prep, smart packing, and choosing ingredients that can handle the journey. With these tips, you’ll enjoy fresh, delicious, no-mess meals wherever your adventure takes you.
Save this guide for later and take it along on your next picnic! 🌿🍓

Leave a Reply