
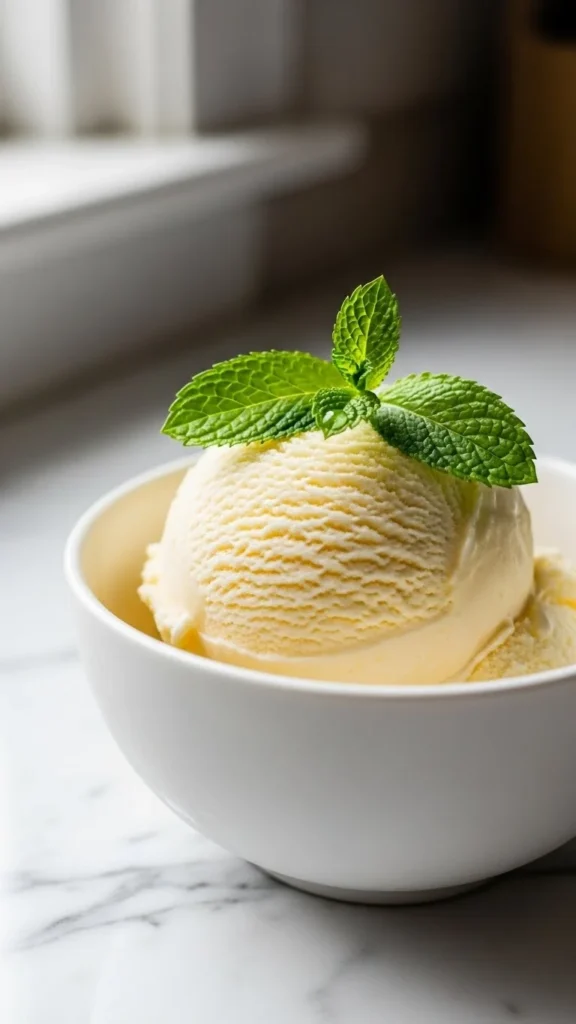
There’s something magical about making ice cream at home—no fancy gadgets, no ice-cream maker humming in the background, just a few simple ingredients and your own two hands. And the best part? The results taste just as creamy and dreamy as store-bought versions. If you’ve ever thought homemade ice cream was complicated, this guide will change everything.
Let’s dive into the easiest, no-machine method that anyone can master.
—
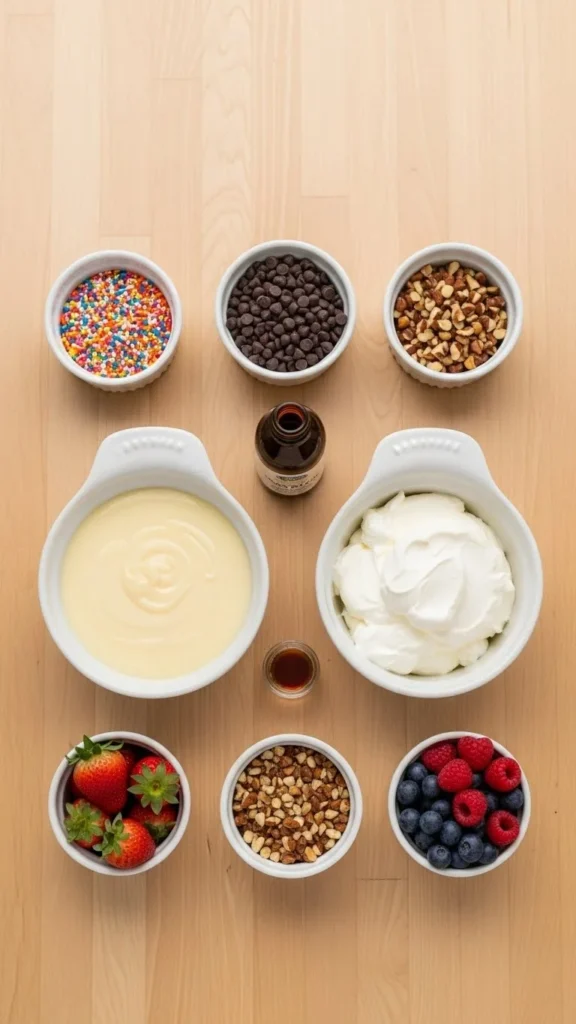
1. The Basic Ingredients You Need
The beauty of no-churn ice cream is how simple the ingredient list is. You only need two main ingredients, and then you can customize the flavor however you want.
– **Sweetened condensed milk** – adds sweetness and keeps the ice cream scoopable
– **Heavy whipping cream** – gives that rich, creamy texture
– **Vanilla extract** – optional, but enhances flavor
– **Add-ins** – chocolate chips, fruit puree, cookie chunks, caramel, etc.
—
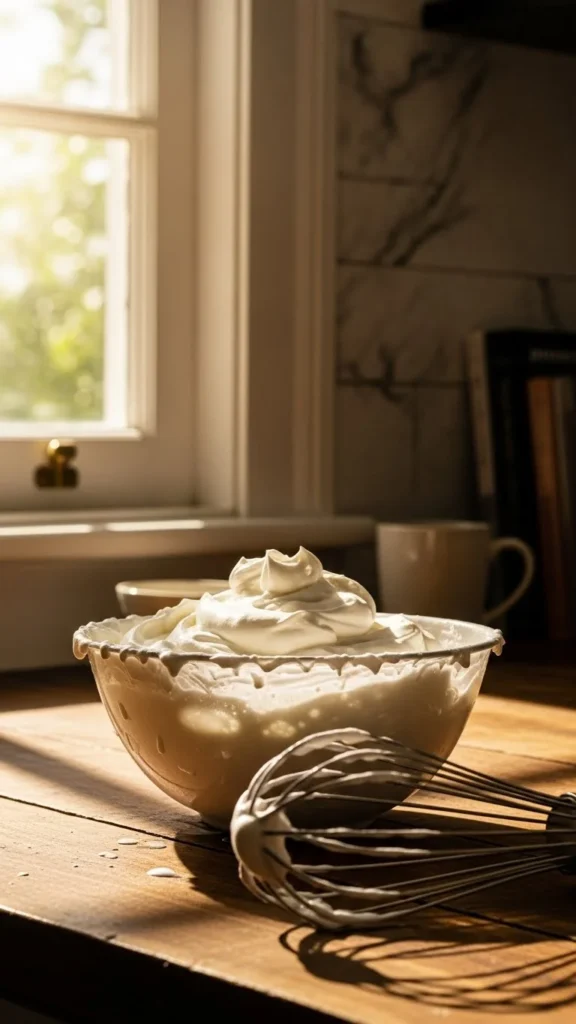
## Step 1: Whip the Cream Until Fluffy
Start by pouring your cold heavy cream into a large mixing bowl. Whip it using a hand mixer or stand mixer until stiff peaks form. This step adds air to the mixture, which gives your ice cream that soft, scoopable texture.
**Tips for perfect whipped cream:**
– Use chilled cream—it whips faster and better
– Don’t overmix; stop once peaks form
– If your kitchen is warm, chill the bowl 10 minutes first
—
## Step 2: Fold in the Condensed Milk
Once the cream is whipped, gently fold in your sweetened condensed milk. This is where you add vanilla or any flavor base like cocoa powder, strawberry puree, or instant coffee.
To fold correctly:
– Use a spatula
– Scoop from the bottom and turn the mixture
– Avoid stirring aggressively—keep the air in the cream
This step forms the creamy foundation of your ice cream.
—
## Step 3: Add Your Favorite Mix-Ins
Here’s the fun part—customizing the flavor!
Try these mix-in ideas:
– Crushed Oreos
– Mini chocolate chips
– Salted caramel swirls
– Strawberry chunks
– Cookie dough bites
– Toasted nuts
– Crushed candy bars
You can divide the base into two or three containers to make multiple flavors from one batch.

—
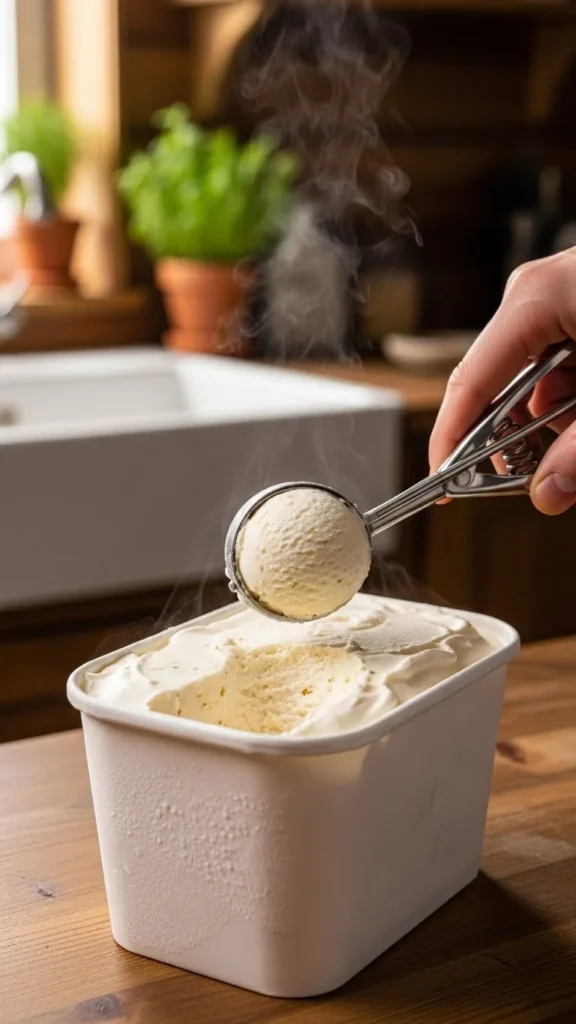
## Step 4: Freeze Until Firm
Pour your ice cream mixture into a freezer-safe container. Smooth out the top and cover it tightly with a lid or plastic wrap. Freeze for **6 hours** or ideally overnight.
When frozen:
– The texture should be smooth
– You should be able to scoop it easily
– If it’s too firm, let it sit on the counter for 5 minutes
That’s it! No churning, no machine, no fuss.
—
## Flavor Variations to Try
Homemade ice cream is a blank canvas. Once you master the base, try these combos:
### **1. Cookies & Cream**
– Crushed chocolate sandwich cookies
– Extra vanilla extract
### **2. Strawberry Cheesecake**
– Strawberry puree
– Cheesecake bites
– Graham cracker crumbs
### **3. Mocha Chip**
– Instant coffee dissolved in 1 tbsp hot water
– Cocoa powder
– Mini chocolate chips
### **4. Mango Delight**
– Fresh mango pulp
– Mango chunks
### **5. Chocolate Fudge**
– Cocoa powder
– Fudge swirls
These flavors turn a simple recipe into a Pinterest-worthy treat.
—
## Final Tips for Success
– Always use **full-fat** heavy cream for best results.
– Keep flavors simple—too many mix-ins can make it dense.
– A metal loaf pan freezes faster than plastic containers.
– For swirls (caramel, fudge, jam), layer them instead of mixing fully.
—
## Save This Delicious Dessert for Later!
Now that you know how easy no-machine ice cream really is, you can make a batch anytime your sweet cravings hit. Try different flavors, experiment with mix-ins, and don’t forget to save this guide for your next homemade dessert night!
Enjoy your creamy, dreamy creation!

Leave a Reply