
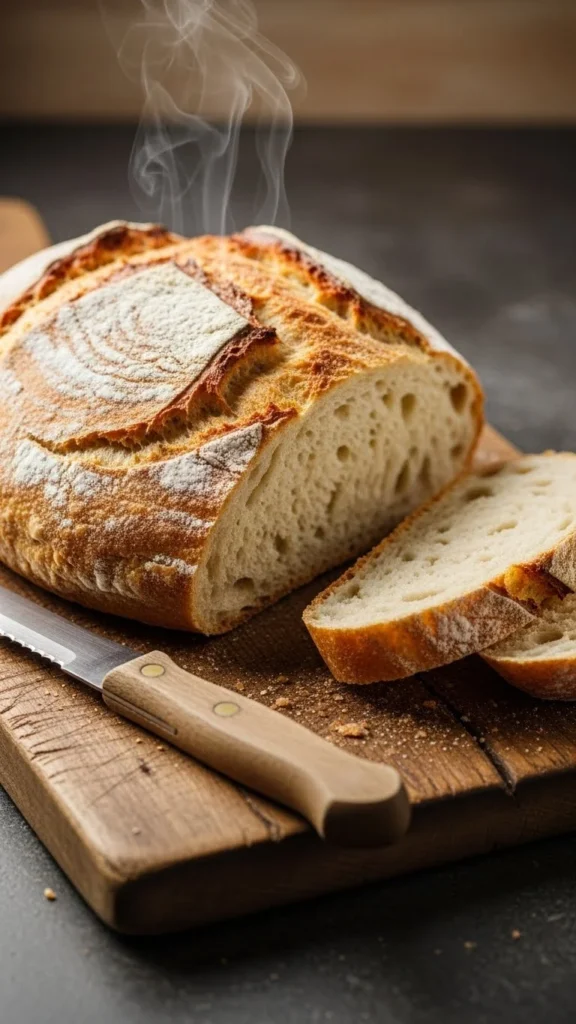
There’s something magical about pulling a warm, pillowy loaf of bread out of your own oven. The smell fills your home, the crust glows golden, and the first slice practically melts in your mouth. If you’ve always wanted to make bakery-style soft bread but felt intimidated, don’t worry—you’re about to learn the easiest method ever.
The best part? You only need basic pantry ingredients and a few simple steps. Let’s get started!
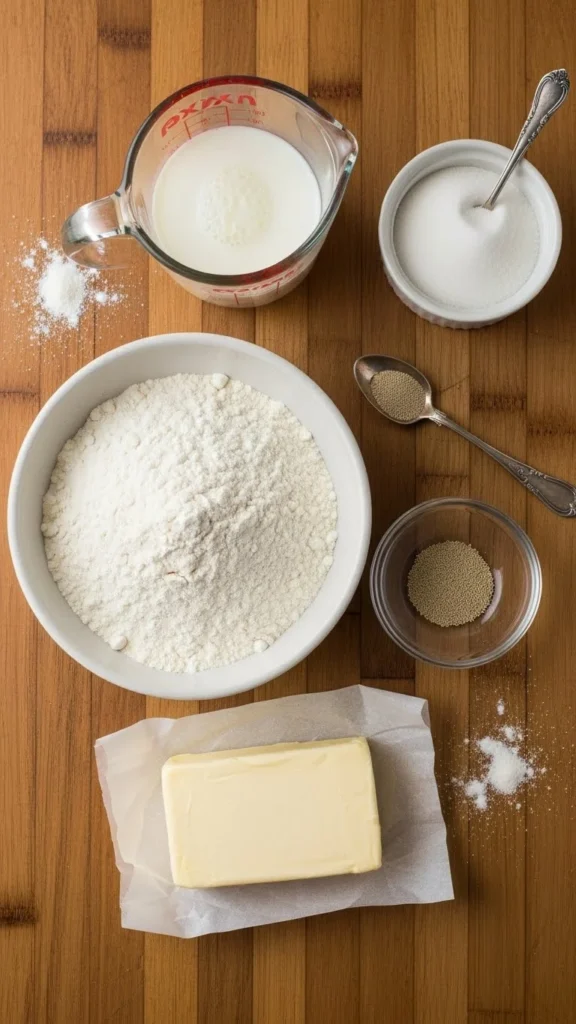
1. Gather the Essentials (Simple Ingredients, Big Flavor)
Soft and fluffy bread doesn’t require anything fancy. You just need a few high-quality basics:
- All-purpose or bread flour
- Yeast (instant or active dry)
- Warm water or milk
- Sugar
- Salt
- Butter or oil
Using milk instead of water makes the bread richer and softer, while butter adds extra tenderness.
Tip: Make sure your liquid is warm—not hot. It should feel like comfortable bath water.
2. Mix and Knead the Dough (This Is Where the Magic Starts)
First, combine your warm liquid, sugar, and yeast. Let it sit for a few minutes until it becomes bubbly and foamy. This means the yeast is alive and ready to work.
Next, add your flour, salt, and butter. Stir until the mixture forms a shaggy dough.
Knead the dough for about 8–10 minutes. You can do this by hand or with a mixer.
A well-kneaded dough should be:
- Smooth
- Soft
- Slightly tacky
- Elastic when stretched
If it feels too sticky, sprinkle a little flour—but avoid adding too much or your bread will turn dense.

3. Let It Rise (This Is How You Get That Soft, Puffy Texture)
Place your dough in a lightly greased bowl, cover it with a cloth, and let it rise for 1–2 hours.
You’ll know it’s ready when it doubles in size.
Perfect rising conditions:
- A warm room
- Inside an oven with the light turned on
- Near a sunny window
If your dough isn’t rising, don’t panic. Give it more time—sometimes yeast just needs patience.
Why this step matters:
Rising allows gluten to relax and yeast to create those irresistible air pockets that make bread fluffy instead of dense.
4. Shape the Dough (Don’t Overthink It)
Once risen, gently punch down the dough to release excess air. Then roll it into a log or shape it into a round loaf—whatever you prefer.
Place it in a greased loaf pan or on a baking tray.
Make your bread extra soft:
Brush the top with a little melted butter before baking.
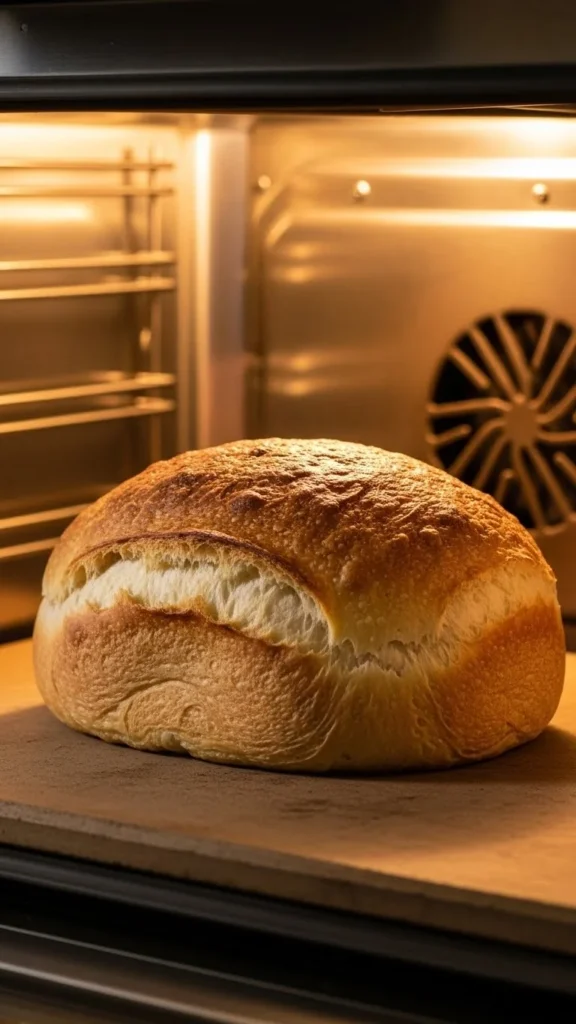
5. Bake Until Golden (Your Kitchen Will Smell Heavenly)
Bake the bread at 175–180°C (350–360°F) for 25–35 minutes.
You’re looking for:
- A golden brown top
- A hollow sound when tapped
- A soft, bouncy interior
Once out of the oven, brush more butter on top. This helps the crust stay soft and shiny.
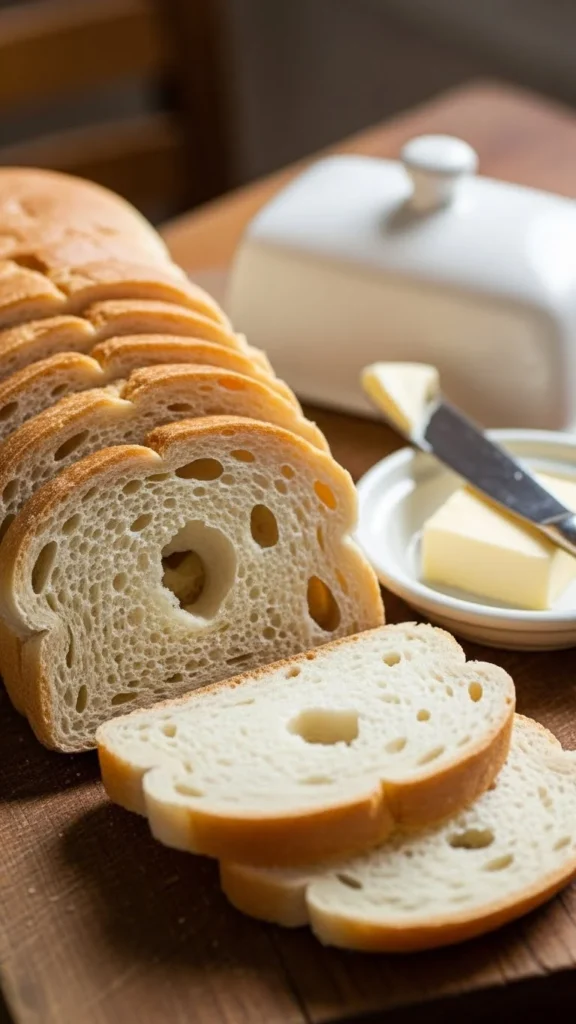
6. Let It Cool (The Hardest Step!)
Even though you’ll be tempted to slice it immediately, give the bread at least 15–20 minutes to cool. Cutting too soon can flatten the loaf because the steam hasn’t settled.
Pro tip:
If you want ultra-soft slices, wrap the still-warm loaf in a clean towel while cooling.
7. Variations to Try (Because Homemade Bread Is Never Boring)
Once you master the basic loaf, mix things up with fun add-ins:
- Honey butter bread – Add 1–2 tbsp of honey to the dough.
- Garlic herb bread – Mix in garlic powder and Italian herbs.
- Milk bread – Use all milk instead of water.
- Cheese bread – Fold shredded cheese into the dough before shaping.
Bread is meant to be played with—so get creative!
8. Troubleshooting (In Case Something Goes Wrong)
If your bread turned dense, here’s what likely happened:
- The dough wasn’t kneaded enough.
- The dough didn’t rise long enough.
- Too much flour was added.
- The yeast was old or inactive.
If the crust is too hard:
- Brush butter on top right after baking.
- Store the bread in an airtight container once fully cooled.
Final Takeaway
Making soft and fluffy homemade bread is much easier than it seems. With simple ingredients, a bit of patience, and a few key techniques, you can create a bakery-quality loaf right in your kitchen.
Save this recipe for later—and enjoy every warm, buttery slice!

Leave a Reply