
Busy mornings. Afternoon energy crashes. Kids asking for snacks every hour.
That’s exactly when homemade granola bars save the day.
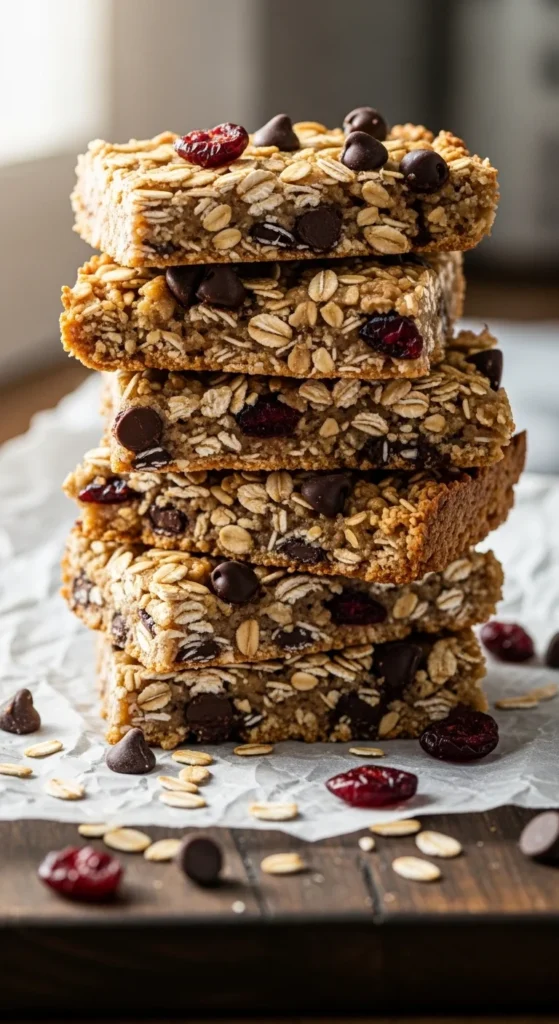
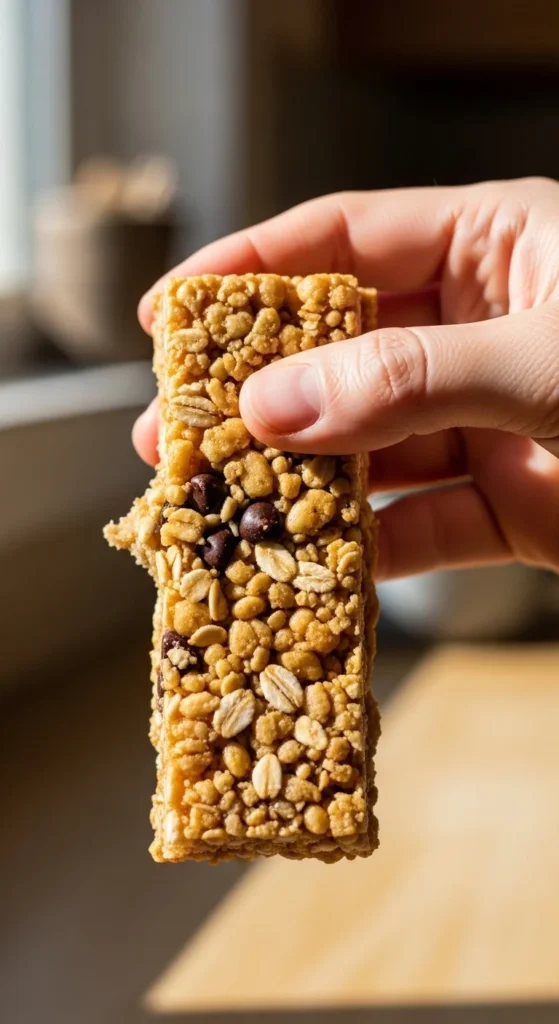
They’re chewy, slightly crunchy, naturally sweet, and incredibly customizable. Best of all? You can make a whole batch in under 30 minutes with pantry staples.
No fancy tools. No complicated steps. Just simple ingredients pressed into one delicious bar you can grab on your way out the door.
Let’s break it down step by step.
Why Homemade Granola Bars Are Better
Store-bought bars look healthy. But many are loaded with:
- Extra sugar
- Preservatives
- Artificial flavors
When you make them at home, you control everything.
You can:
- Reduce sugar
- Add more protein
- Make them nut-free
- Keep them dairy-free
- Adjust texture (chewy or crunchy)
Plus, they’re budget-friendly. A batch usually costs less than buying a box from the store.
And they taste fresher. Always.
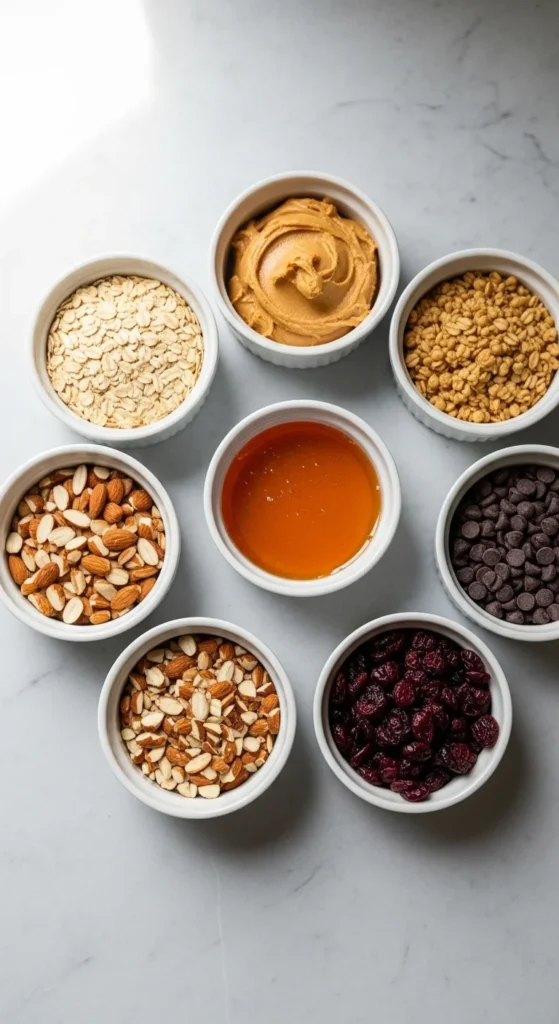
Simple Ingredients You’ll Need
The beauty of granola bars is their flexibility. But here’s a reliable base recipe:
- 2 cups rolled oats
- ½ cup peanut butter (or almond butter)
- ⅓ cup honey or maple syrup
- ¼ cup mini chocolate chips
- ¼ cup chopped nuts or seeds
- ¼ cup dried fruit
- 1 teaspoon vanilla extract
- Pinch of salt
Ingredient Tips
- Use rolled oats, not instant. They hold better.
- Warm peanut butter slightly for easy mixing.
- If you prefer less sweetness, reduce honey slightly.
- For nut-free bars, use sunflower seed butter.
This is your base. From here, you can get creative.
Step-by-Step: How to Make Them
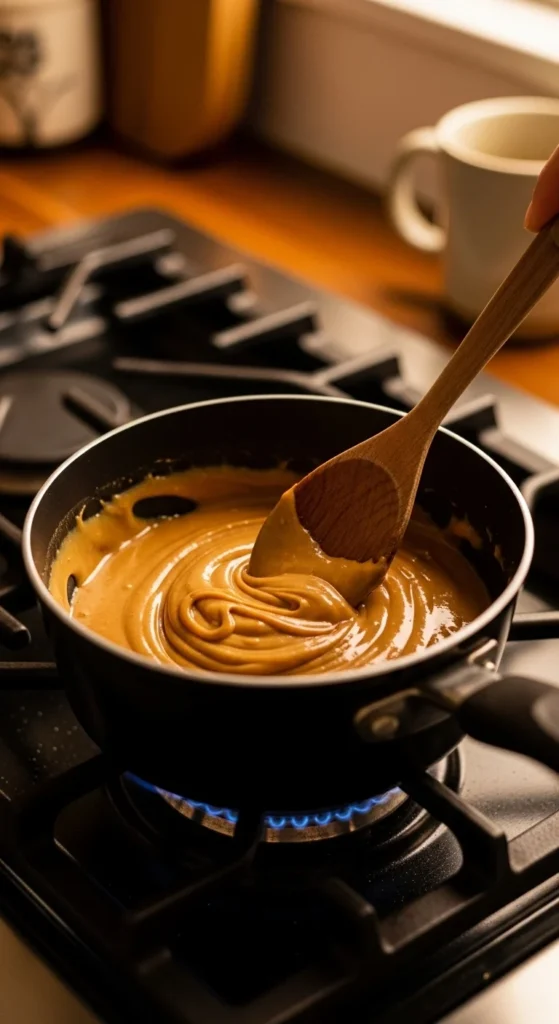
1. Warm the Wet Ingredients
In a small saucepan (low heat), combine:
- Peanut butter
- Honey
- Vanilla
- Salt
Stir until smooth. Don’t boil. Just warm enough to combine.
2. Mix the Dry Ingredients
In a large bowl, combine:
- Oats
- Nuts
- Seeds
- Dried fruit
Pour the warm mixture over the oats.
Mix thoroughly. Everything should be coated evenly.
If it feels dry, add 1–2 tablespoons extra nut butter.
3. Press Firmly Into a Pan
Line an 8×8 pan with parchment paper.
Transfer the mixture into the pan.
Now this step is important:
Press it down very firmly.
Use:
- The back of a spoon
- A measuring cup
- Your hands (with parchment on top)
The tighter you press, the better they hold together.
4. Chill to Set
Refrigerate for at least 1–2 hours.
This allows everything to firm up and bind properly.
Then lift out using parchment and slice into bars.
No-Bake vs. Baked Granola Bars
Most easy granola bars are no-bake. But you can bake them for a firmer texture.
No-Bake (Soft & Chewy)
- Faster
- Great for kids
- Less crumbly if pressed well
Baked (Crunchier)
- Bake at 325°F (160°C) for 15–18 minutes
- Cool completely before slicing
If you love that crunchy café-style bar, baking might be your favorite option.
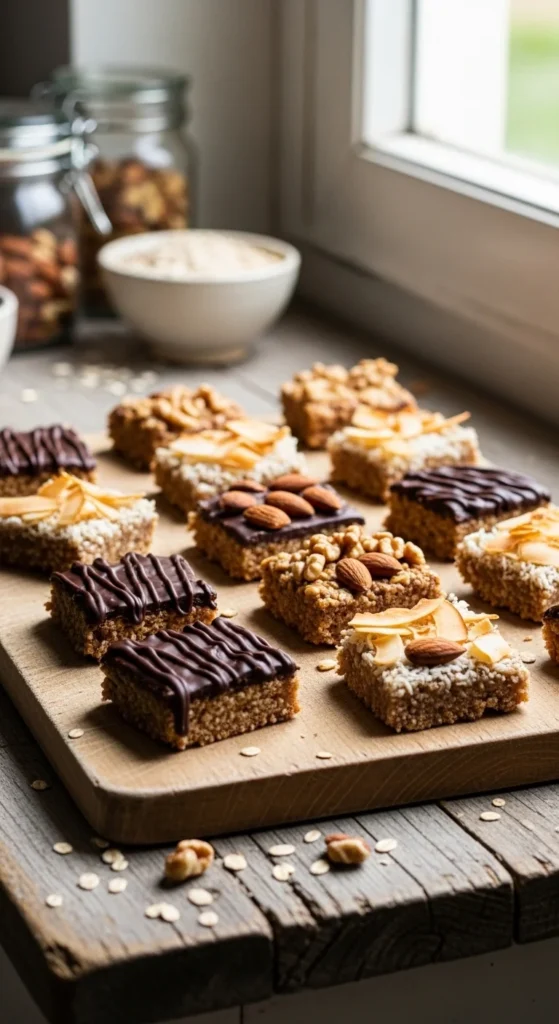
Flavor Variations to Try
Once you master the base recipe, experiment.
Chocolate Chip Classic
- Add extra mini chocolate chips
- Sprinkle sea salt on top
Peanut Butter Banana
- Add mashed banana (reduce honey slightly)
- Add cinnamon
Coconut Almond
- Add shredded coconut
- Use almond butter
- Toss in sliced almonds
Trail Mix Style
- Pumpkin seeds
- Sunflower seeds
- Raisins
- Dark chocolate chunks
The combinations are endless.
How to Store Granola Bars
Storage depends on ingredients.
- Room temperature: 3–4 days in airtight container
- Refrigerator: Up to 1 week
- Freezer: Up to 3 months
If they soften too much, refrigerate them.
If they’re too firm, let them sit out for 5–10 minutes before eating.
For school lunches or work bags, wrap individually in parchment paper. Easy grab-and-go solution.
Common Mistakes to Avoid
Even simple recipes can go wrong. Here’s what to watch for:
Not Pressing Firmly Enough
Loose bars fall apart. Press harder than you think you need to.
Too Many Add-Ins
Balance is key. Overloading makes bars crumbly.
Not Enough Binder
If mixture feels dry:
- Add more nut butter
- Add 1 tablespoon honey
Cutting Too Early
Always chill first. Warm bars won’t hold shape.
Make Them Healthier (Optional Upgrades)
Want a more nutritious version?
Try adding:
- 1 tablespoon chia seeds
- 1 tablespoon flaxseed meal
- Protein powder (reduce oats slightly)
- Unsweetened coconut
You can also swap:
- Honey → Maple syrup
- Peanut butter → Cashew butter
- Chocolate chips → Cacao nibs
Small tweaks. Big difference.
The Final Result
You’ll end up with bars that are:
- Soft but sturdy
- Sweet but not overpowering
- Customizable
- Budget-friendly
- Perfect for meal prep
And the best part?
You made them yourself.
Final Thoughts
Homemade granola bars are one of the easiest snack recipes you can keep in your weekly rotation. They’re simple, flexible, and perfect for busy mornings, road trips, or afternoon cravings.
Once you try making them from scratch, you may never go back to store-bought again.
Save this recipe for later, and try a new flavor every week!

Leave a Reply