
You don’t need a professional kitchen or years of experience to design cakes that look like they came straight from a bakery display case. With a few smart techniques, simple tools, and thoughtful design choices, you can transform a homemade cake into something truly elegant. The secret is not complicated decorations. It’s clean finishes, balanced color, and controlled details. This guide walks you through practical, beginner-friendly steps that help you create bakery-level cakes without stress.
Start with a Smooth, Strong Base
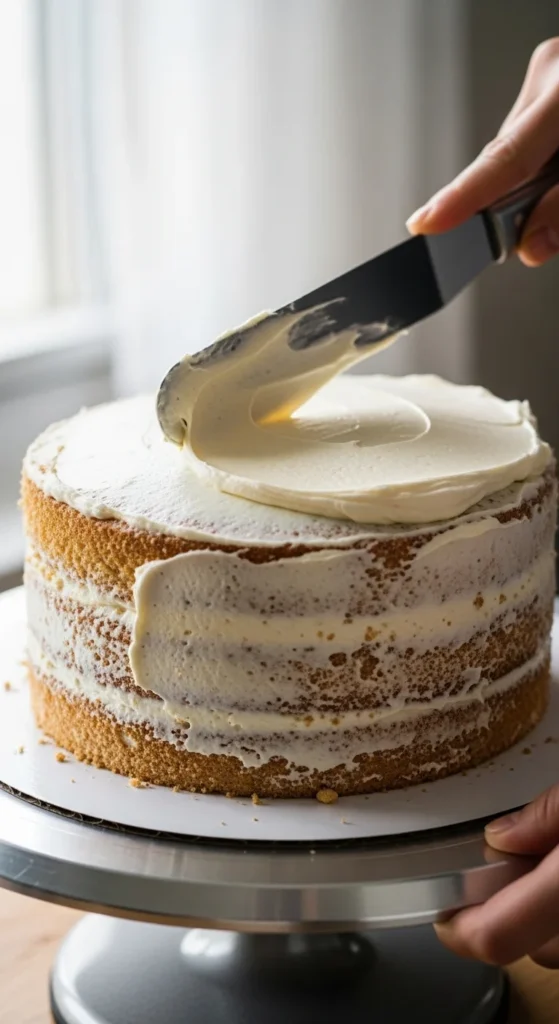
Every beautiful cake begins with a solid foundation. A crumb coat is a thin layer of buttercream frosting that seals in loose crumbs and prepares the cake for the final finish.
How to do it:
- Spread a thin layer of buttercream frosting over the entire cake.
- Scrape gently to remove excess.
- Chill the cake for 20–30 minutes.
This step keeps crumbs from showing through and makes the final coat much easier to apply. If your cake layers look uneven, level them before stacking. Even layers immediately improve the overall appearance of the cake.
Chill Between Steps for Clean Results
Temperature control plays a big role in cake decorating. Warm cakes and soft frosting can slide, smudge, or bulge.
Helpful habits:
- Chill after crumb coating.
- Chill again before adding drips or detailed piping.
- Keep buttercream frosting covered so it does not dry out.
Cold frosting holds its shape better, which leads to sharper edges and smoother sides.
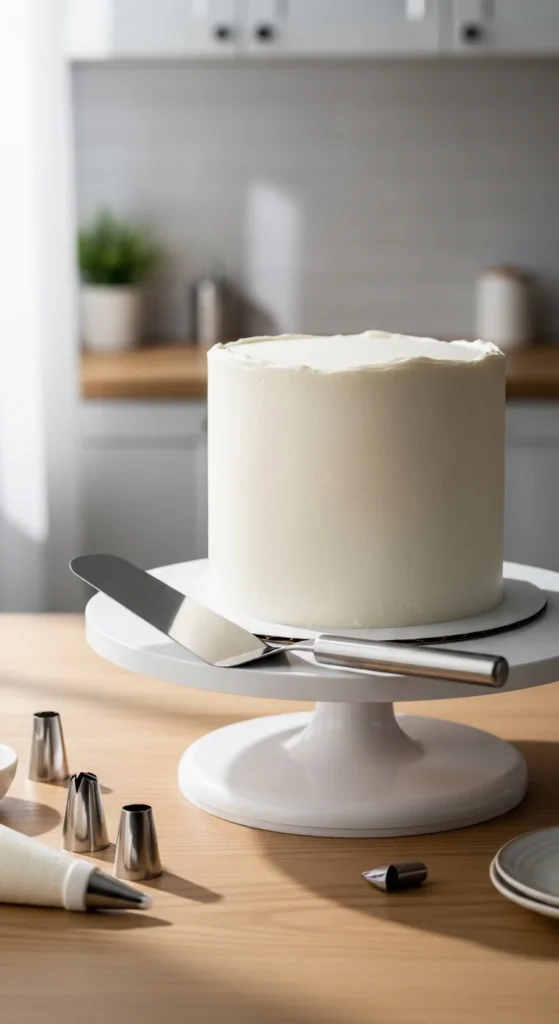
Use Simple Tools That Make a Big Difference
You do not need a large collection of specialty tools. A few basics handle most decorating tasks.
Must-haves:
- Offset spatula for smoothing and textures
- Bench scraper or cake smoother for straight sides
- Turntable for even rotation
- Piping bags and a few tips
These tools help you control your finish, which is what separates homemade-looking cakes from bakery-style ones.
Create Elegant Buttercream Frosting Textures
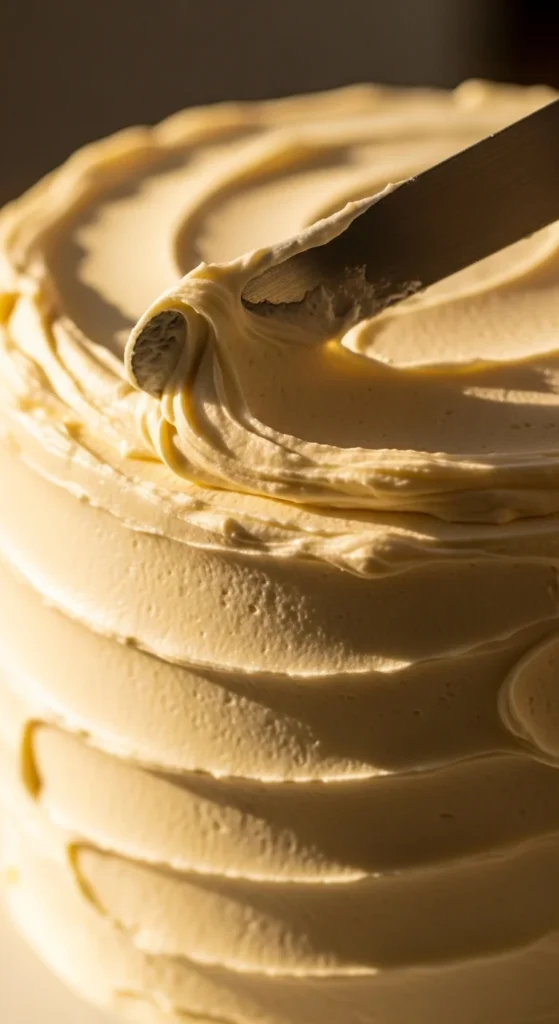
Perfectly smooth cakes look beautiful, but textured frosting adds character and hides small imperfections.
Easy texture ideas:
- Rustic swirls using an offset spatula
- Horizontal ridges with a bench scraper
- Soft painted strokes in one direction
Keep your movements gentle and consistent. Step back occasionally to check the overall look before adding more texture.
Choose a Color Scheme That Feels Intentional
Elegant cakes stand out because the colors work together in a calm, thoughtful way. You do not need complex blending or many shades. A small, coordinated palette creates a polished look that feels bakery-level.
Popular options include:
Neutral with metallic accents
Ivory, cream, or soft beige paired with touches of gold, silver, or rose gold.
Nature-inspired tones
Sage green, dusty blue, lavender, or soft gray paired with white or cream.
Soft pastel pairings
Peach with ivory, baby blue with blush, mint with cream, or lilac with pale yellow.
High-contrast two-tone
White with black, navy with gold, deep chocolate with cream, or burgundy with blush.
Warm dessert shades
Caramel, mocha, cinnamon, or chocolate paired with lighter neutrals.
Choose one main color for the cake, a second shade for piping or texture, and an optional accent for small details. Limiting your palette keeps the design cohesive and refined. Use gel food coloring to achieve rich color without thinning your buttercream frosting.
Add a Chocolate Drip the Right Way
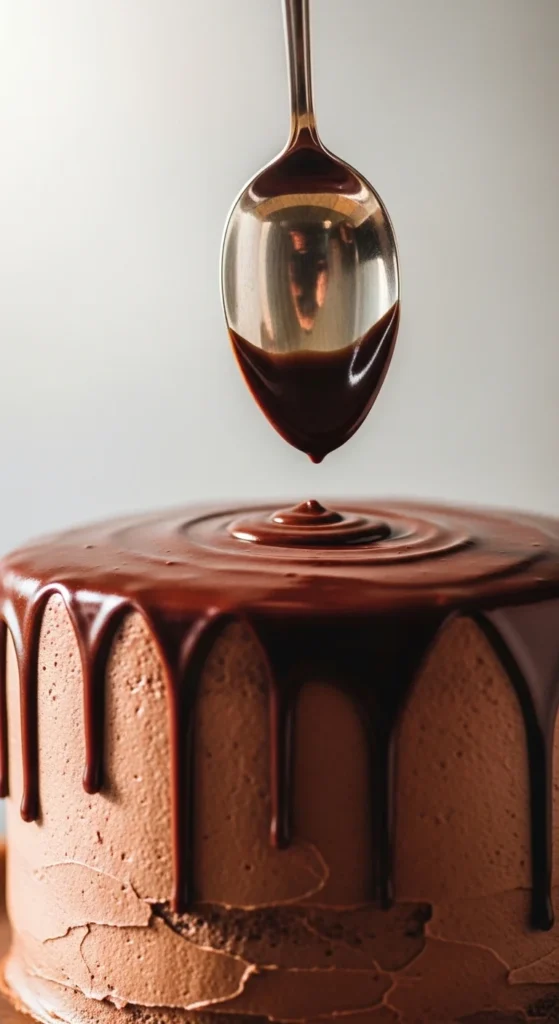
Chocolate drips instantly give cakes a polished look.
Basic formula:
- 2 parts chocolate
- 1 part warm cream
Let the ganache cool slightly before using. Test one drip first. If it runs too fast, let it cool longer. If it is too thick, warm it gently.
Always apply drips to a chilled cake for better control.
Use Piping for Simple, High-Impact Details
Piping does not have to feel intimidating.
Great beginner designs:
- Rosettes along the top edge
- Simple borders at the base
- Small shells or dots
Practice on parchment paper before piping onto the cake. Piping also helps cover small imperfections along edges.
Decorate with Minimalist Toppers
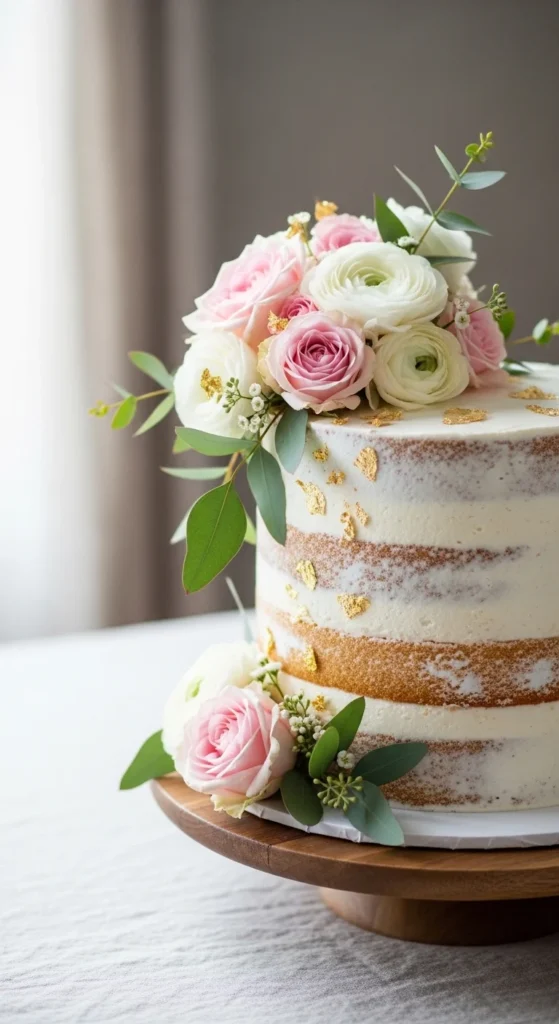
Sometimes a few well-chosen toppers make a bigger impact than heavy decorations.
Elegant topper ideas:
- Fresh flowers (wrap stems before placing)
- Edible metallic flakes or dust
- Macarons
- Chocolate shards
Place toppers thoughtfully rather than covering the entire cake.
Keep Design Balanced
Before adding more decorations, pause and look at your cake.
Ask yourself:
- Does one side feel heavier?
- Is there a clear focal point?
- Do the colors work together?
Balanced designs feel calm and polished.
Finish with Sharp Edges
For bakery-style edges:
- Apply extra buttercream frosting along the top edge.
- Use a bench scraper or spatula to pull inward gently.
- Clean your tool between passes.
Sharp edges make a big difference in the final look.
Final Thoughts
Designing elegant cakes comes down to mastering a few core techniques rather than complicated decorations. Focus on smooth bases, temperature control, simple textures, balanced color, and clean finishes. With practice, these small steps create stunning results.
Save this guide for your next baking session and start creating cakes that truly look bakery-level 🎂
Leave a Reply