
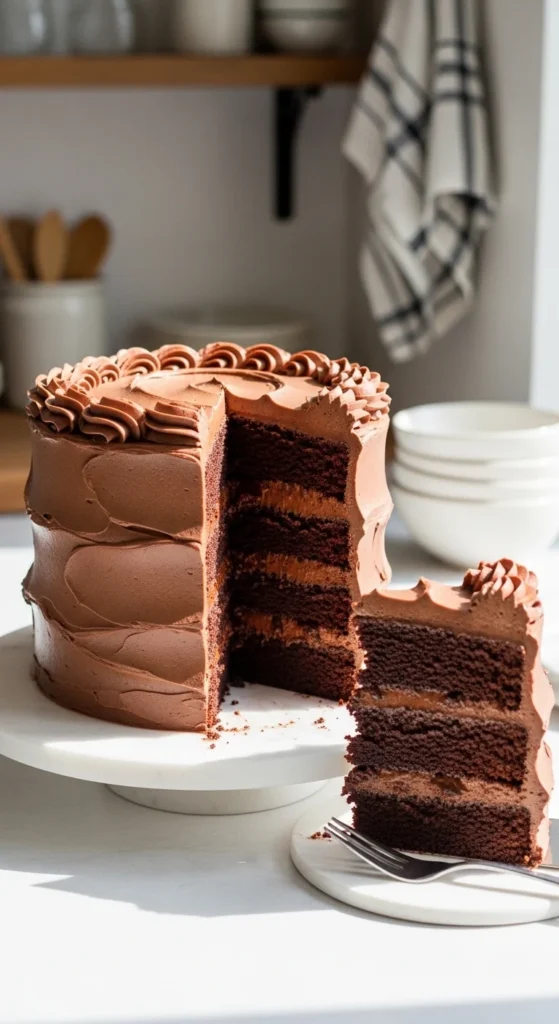
There’s something magical about pulling a perfectly frosted chocolate cake out of your kitchen and hearing people say, “Wait… you made this?!”
The good news? You don’t need professional training or fancy tools. With the right method (and a few smart tricks), you can create a rich, moist chocolate cake that looks like it came straight from a bakery display case.
Let’s break it down step-by-step so you can bake with confidence.
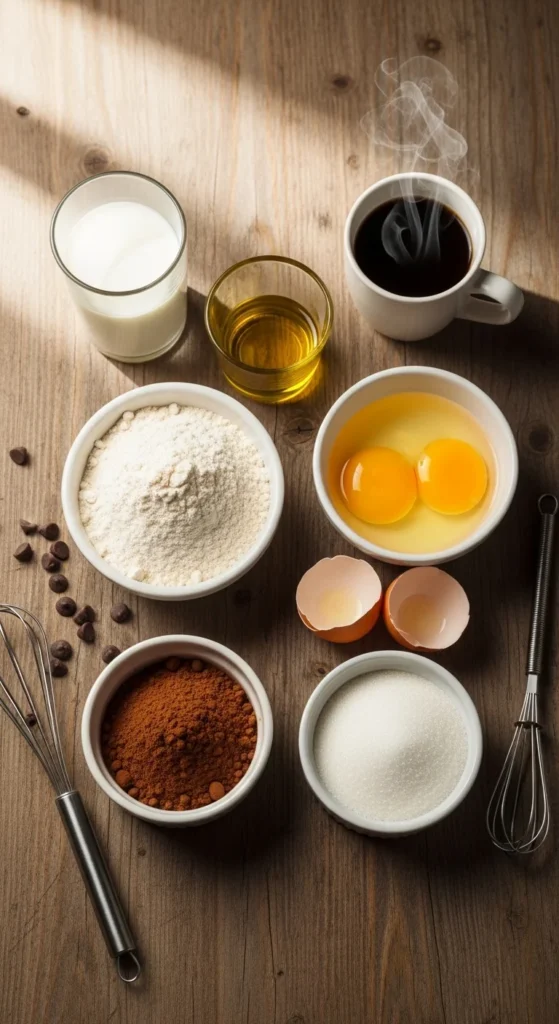
Step 1: Gather Simple, High-Quality Ingredients
A bakery-style cake starts with the basics. No complicated ingredients — just the right balance.
For the cake:
- 2 cups all-purpose flour
- ¾ cup unsweetened cocoa powder
- 2 cups sugar
- 2 eggs
- 1 cup milk (room temperature)
- ½ cup oil
- 1 cup hot coffee (secret ingredient!)
- 2 tsp baking powder
- 1½ tsp baking soda
- 1 tsp salt
- 2 tsp vanilla extract
Why hot coffee?
It deepens the chocolate flavor without making the cake taste like coffee. Trust me — this is what gives it that bakery richness.
Pro tip: Use good-quality cocoa powder. It makes a huge difference.
Step 2: Mix the Batter the Right Way
The secret to a soft, moist cake? Don’t overmix.
Here’s the simple method:
- Whisk together all dry ingredients in one bowl.
- In another bowl, mix eggs, milk, oil, and vanilla.
- Combine wet and dry ingredients gently.
- Slowly pour in hot coffee and stir until smooth.
The batter will be thin. That’s normal!
Important tips:
- Mix just until combined.
- Scrape the bowl to avoid dry pockets.
- Use room-temperature ingredients for even baking.
Pour the batter evenly into greased cake pans.
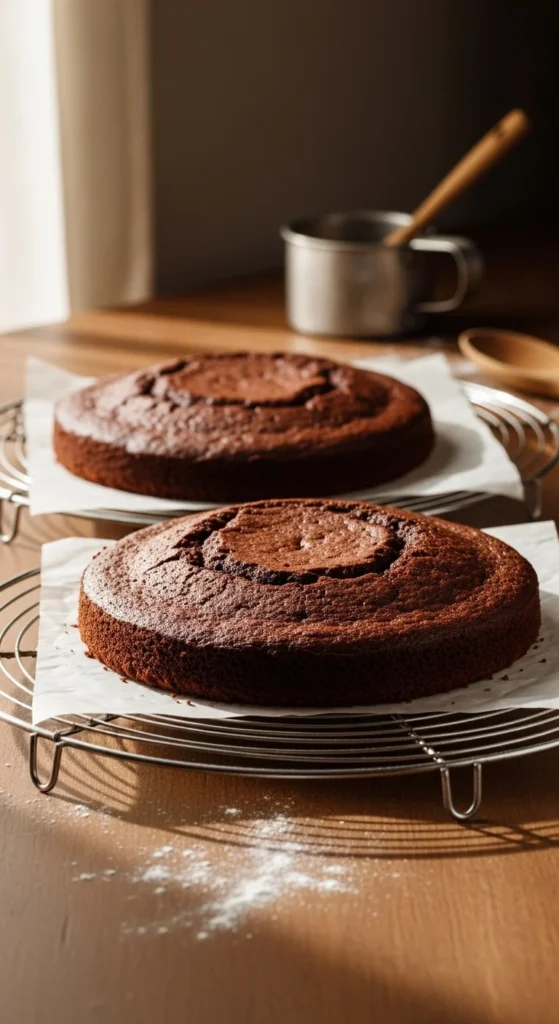
Step 3: Bake for the Perfect Texture
Preheat your oven to 350°F (175°C).
Bake for 30–35 minutes, or until:
- A toothpick inserted in the center comes out clean.
- The cake springs back lightly when touched.
Let the cakes cool in the pan for 10 minutes, then transfer to a wire rack.
Never frost a warm cake.
This is one of the biggest mistakes beginners make.
Step 4: Make Smooth, Bakery-Style Chocolate Frosting
You don’t need complicated decorating skills. You just need smooth frosting.
Easy Chocolate Buttercream:
- 1 cup softened butter
- 3–4 cups powdered sugar
- ½ cup cocoa powder
- ¼ cup heavy cream
- 2 tsp vanilla
Beat butter until fluffy.
Add cocoa and powdered sugar gradually.
Pour in cream and vanilla.
Beat until light and smooth.
If it’s too thick → add a splash of cream.
If it’s too thin → add more powdered sugar.
The texture should be soft but spreadable.
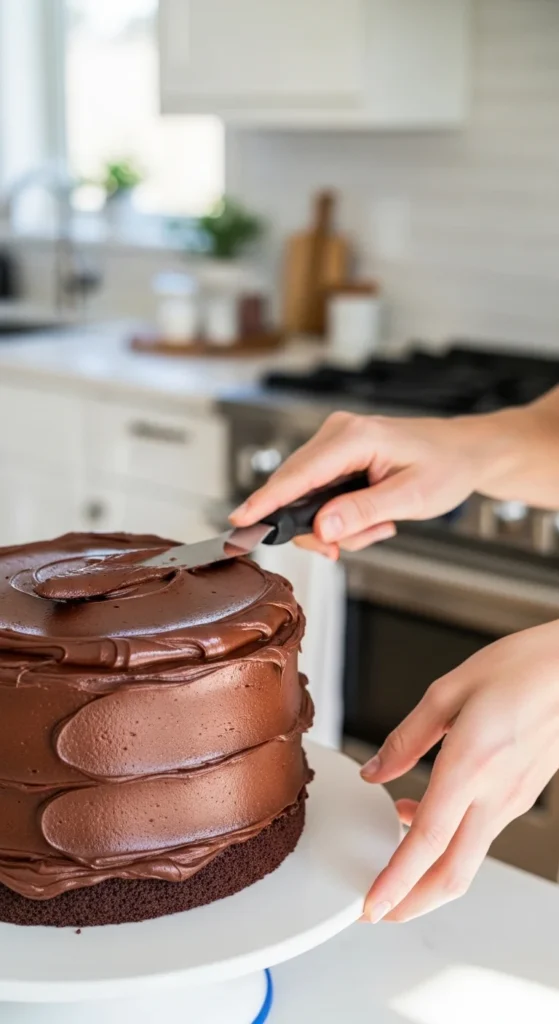
Step 5: Assemble Like a Pro
Now for the fun part.
- Trim cake tops if needed to make them flat.
- Place the first layer on a cake stand.
- Add a generous scoop of frosting.
- Spread evenly with an offset spatula.
- Add the second layer.
- Apply a thin crumb coat.
- Chill for 20 minutes.
- Add the final thick layer of frosting.
The crumb coat step is what makes it look professional. It traps loose crumbs and gives you that clean finish.
Step 6: Easy Decorating Tricks That Look Fancy
You don’t need piping mastery to make it stunning.
Try these simple ideas:
- Use the back of a spoon to create rustic swirls.
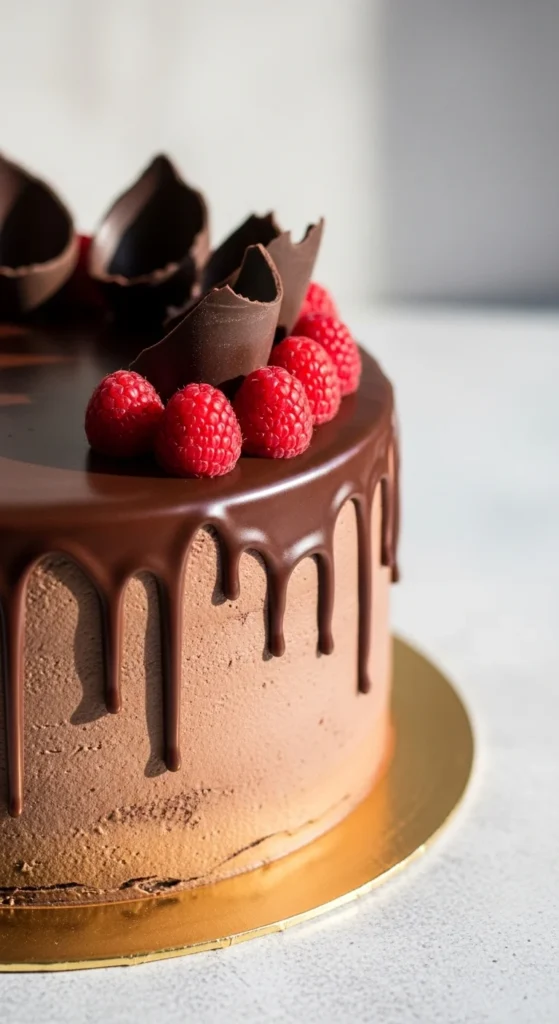
- Add chocolate shavings on top.
- Drip melted chocolate ganache down the sides.
- Decorate with fresh berries.
- Sprinkle sea salt for a gourmet touch.
Even simple texture makes it look intentional and elegant.
If you want that glossy bakery drip:
Quick Ganache:
- Heat ½ cup cream.
- Pour over ½ cup chocolate chips.
- Stir until smooth.
- Let cool slightly.
- Drizzle around the edges.
Bonus Tips for a Truly Bakery Look
- Use cake strips for even layers.
- Chill your cake before final frosting.
- Wipe your spatula clean between strokes.
- Rotate the cake stand as you frost.
- Keep edges sharp by smoothing with a warm spatula.
And remember: perfection isn’t required. Confidence is.
Why This Recipe Works
This cake stays:
- Ultra moist
- Deeply chocolatey
- Soft for days
- Easy to decorate
It’s reliable. It’s forgiving. And it looks impressive every time.
Final Thoughts
You don’t need a professional kitchen to create a show-stopping chocolate cake. With simple ingredients, a few smart tricks, and a little patience, you can make a cake that looks completely bakery-made — but tastes even better because you made it yourself.
Go ahead. Bake it for birthdays. Bake it for weekends. Bake it just because.
And when someone asks where you bought it?
Just smile.
Save this recipe for later and share it with your fellow chocolate lovers! 🍫🎂

Leave a Reply