
Ever wonder how bakery cakes look so smooth, tall, and polished — while homemade cakes sometimes look uneven or messy? The good news is this: you don’t need advanced skills to get that professional finish. You just need a few smart techniques and the right order of steps.
When you master a few decorating basics, even the simplest cake design can look like it came from a boutique bakery. Let’s break it down step by step.
Start With a Flat, Stable Foundation
Professional-looking cakes begin long before the decorating stage.
First, level your cake layers. Use a serrated knife or cake leveler to remove domed tops. Flat layers stack better and prevent leaning.
For a taller, more elegant look:
- Use three layers instead of two
- Add filling evenly
- Gently press layers to remove air gaps
Brush each layer lightly with simple syrup to keep it moist. This small step prevents dryness and makes your cake taste as good as it looks.
Master the Crumb Coat (Your Secret Weapon)
If crumbs ruin your frosting, the crumb coat will fix that instantly.
A crumb coat is a thin layer of buttercream that seals in loose crumbs before the final frosting.
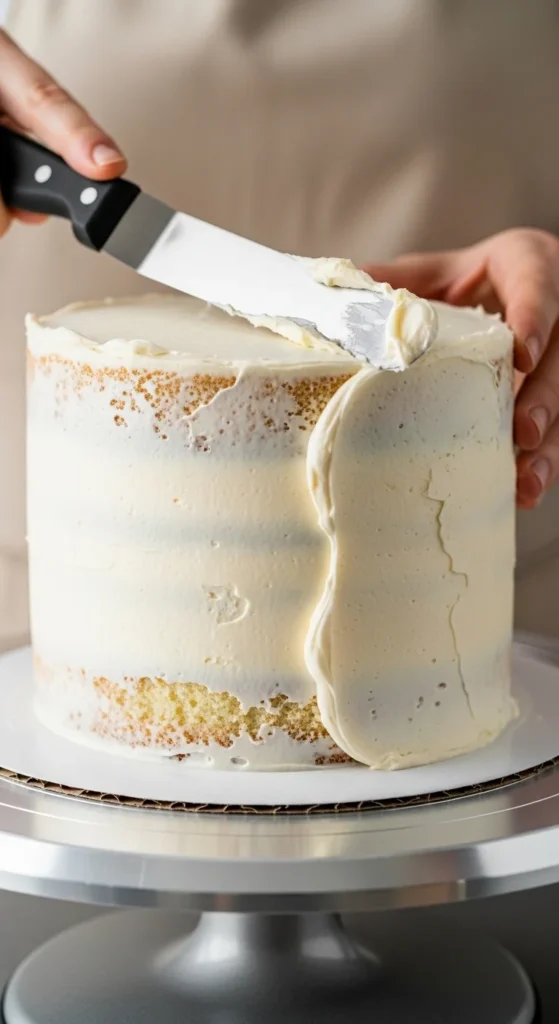
Here’s how to do it:
- Spread a thin layer of buttercream over the entire cake
- Don’t worry about perfection
- Chill the cake for 20–30 minutes
This creates a clean canvas. When you apply the final coat, the frosting glides on smoothly.
Use the Right Tools (They Make a Huge Difference)
You don’t need a full bakery setup. Just a few affordable tools can transform your results:
- Offset spatula – for smooth spreading
- Bench scraper – for sharp edges
- Cake turntable – for even frosting
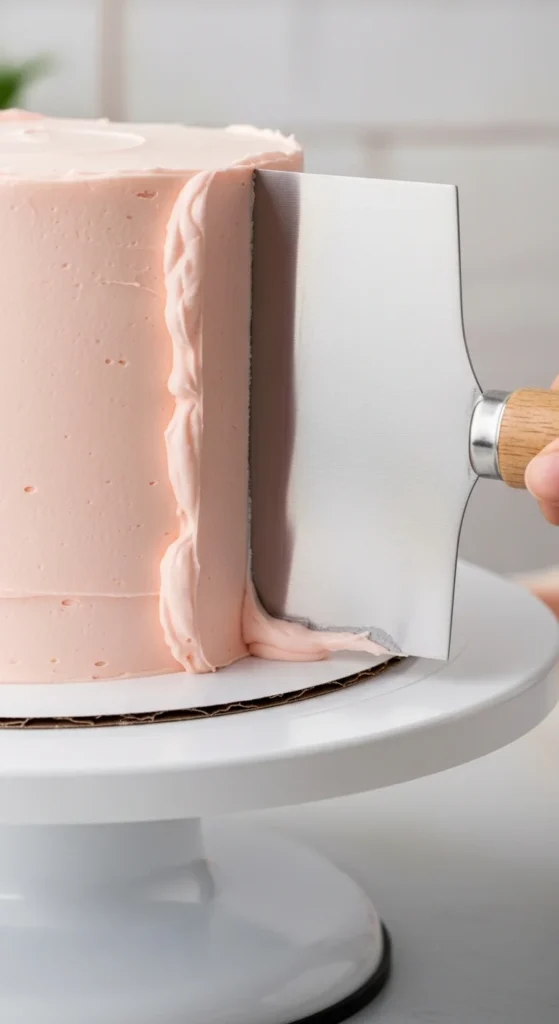
To get smooth sides:
- Apply a generous layer of buttercream.
- Hold the bench scraper steady.
- Spin the turntable slowly.
- Scrape excess frosting away.
Sharp edges instantly elevate your cake’s appearance.
Chill Between Steps
Temperature control matters more than most beginners realize.
If your frosting looks soupy:
- Chill it for 10–15 minutes.
- Avoid decorating in a warm kitchen.
If layers start sliding:
- Refrigerate before adding final decorations.
Cold buttercream is easier to shape and smooth. Warm frosting causes cracks and sagging.
Add Height and Structure
Professional cakes often look taller and more structured.
Here’s how to create that effect:
- Stack three layers.
- Use a cake board underneath.
- Pipe a buttercream border (a “dam”) around fillings.
This keeps fruit or mousse from leaking out and prevents leaning.
Even a simple vanilla cake looks dramatic when it stands tall and straight.
Simple Piping That Looks Advanced
You don’t need complicated techniques. Start with star tips for easy texture.
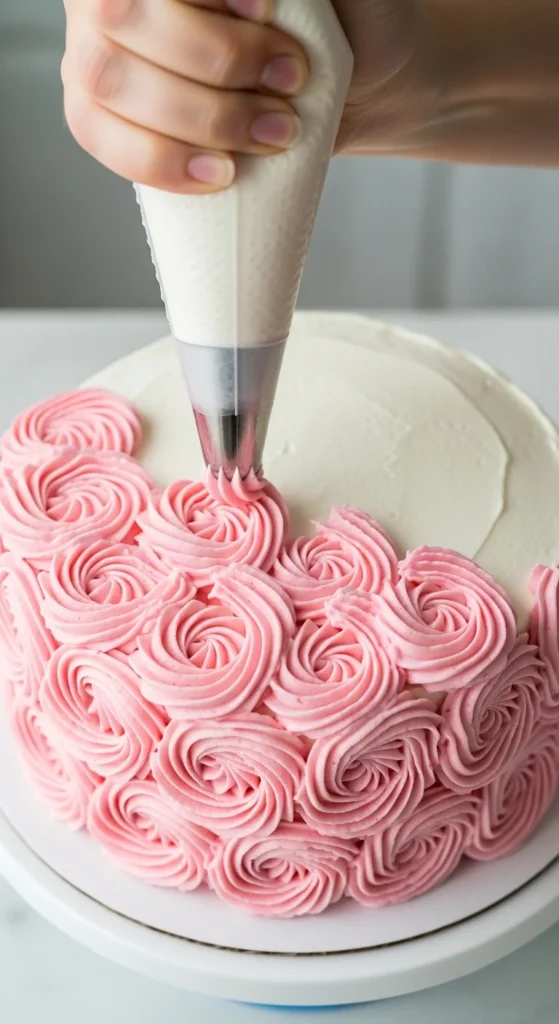
Try these beginner-friendly ideas:
- Pipe rosettes around the top edge.
- Add shell borders at the base.
- Practice on parchment first.
If you’re nervous, test your swirls before touching the cake. Five minutes of practice builds confidence fast.
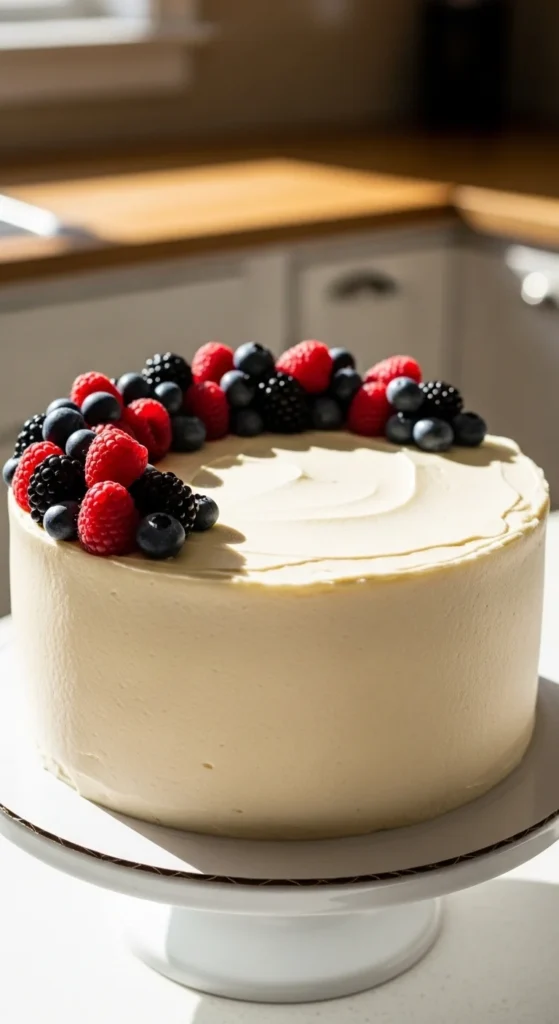
No-Piping Hacks That Look Fancy
If piping intimidates you, skip it entirely.
Try these quick upgrades:
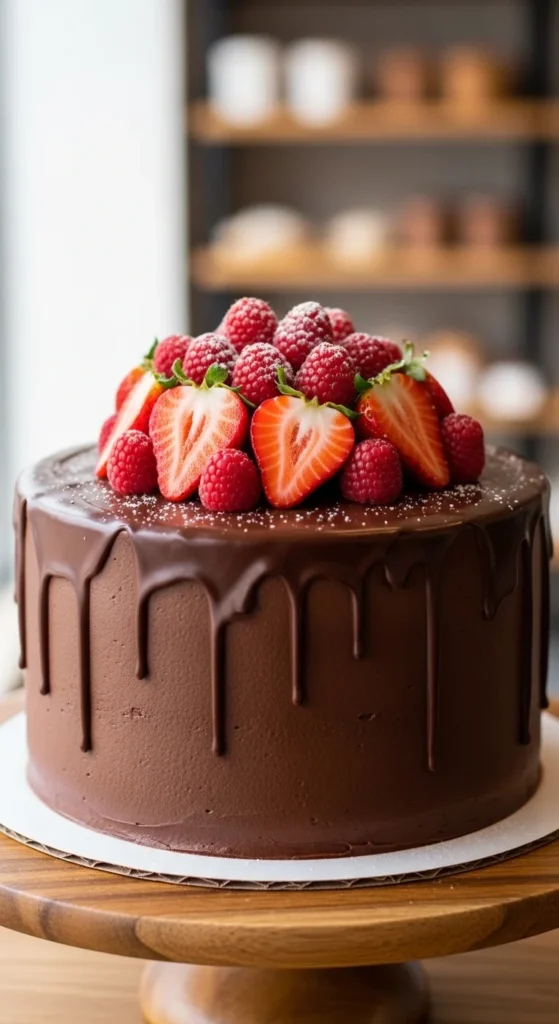
- Chocolate drip: Pour slightly cooled ganache along the edges.
- Fresh fruit topping: Arrange berries in the center.
- Sprinkle borders: Cover the bottom edge to hide imperfections.
- Chopped nuts: Add texture and structure.
These details instantly make a cake look intentional and polished.
Create Texture for Visual Interest
Smooth cakes are beautiful, but texture adds dimension.
Use a spatula to create:
- Soft swoops
- Vertical lines
- Rustic waves
- “Wiggle” patterns
You can also try ombre frosting:
- Divide buttercream into three shades.
- Apply darkest at the bottom.
- Blend upward.
This gives a modern, trendy look without complicated skills.
Add Elegant Finishing Touches
Small accents make a big impact.
Consider:
- Edible metallic dust
- Gold leaf flakes
- Polka dot piping
- Fresh, food-safe flowers
When using flowers:
- Wrap stems in floral tape.
- Keep them away from direct cake contact.
Minimal decorations often look more professional than overloaded designs.
Troubleshooting Common Problems
Even simple cakes can go wrong. Here’s how to fix them quickly:
Cracks in frosting?
Use a small spatula and gently smooth with light pressure.
Cake sliding?
Pipe a small swirl of buttercream onto the cake board before placing the bottom layer.
Edges not sharp enough?
Chill the cake and scrape again with a warm bench scraper.
Overwhelmed?
Keep the design simple. Focus on clean lines and neat finishes.
Practice Makes It Polished
Professional decorators practice constantly. You can too.
- Pipe on parchment.
- Test color blends.
- Try smoothing techniques on dummy cakes.
The more you practice, the more natural it feels.
Final Thoughts
You don’t need advanced skills or expensive tools to make simple cake designs look professionally decorated. Focus on flat layers, crumb coats, smooth frosting, and clean finishing touches. Use simple piping or fresh toppings to add elegance without stress.
Start with one technique at a time, build your confidence, and enjoy the process.
Save this guide for your next celebration — and turn every homemade cake into something that looks like it came from a bakery. 🎂✨

Leave a Reply