
There’s nothing more satisfying than pulling a loaf of bread from the oven that’s tall, golden, and perfectly risen. If your loaves often turn out flat, dense, or uneven, don’t worry — beautiful rise isn’t luck, it’s technique. Once you understand a few key basics, you’ll start baking bakery-style loaves right at home.
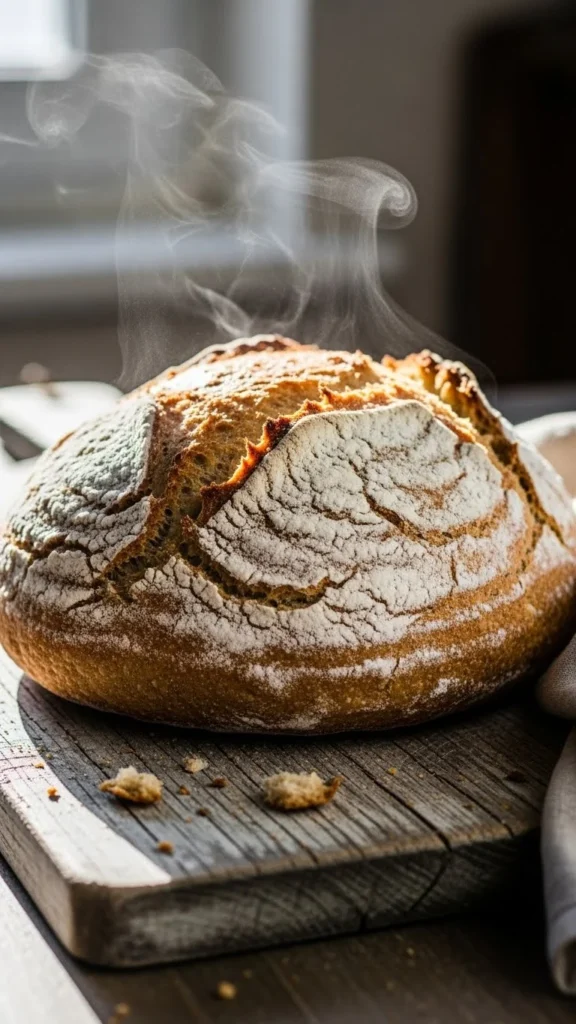
In this guide, I’ll walk you through simple, beginner-friendly steps to help your bread rise higher, softer, and more consistently — without fancy equipment or complicated methods.
Understand Your Yeast (This Step Matters More Than You Think)
Yeast is the engine behind a beautiful rise. If it’s weak or mistreated, your bread won’t stand a chance.
Here’s what to keep in mind:
- Use fresh yeast: Expired yeast = flat bread.
- Check water temperature: It should be warm, not hot (around 100–110°F / 38–43°C).
- Activate properly: When mixed with warm liquid and a little sugar, yeast should foam within 5–10 minutes.
If your yeast doesn’t bubble, start over. This small check saves hours of disappointment later.
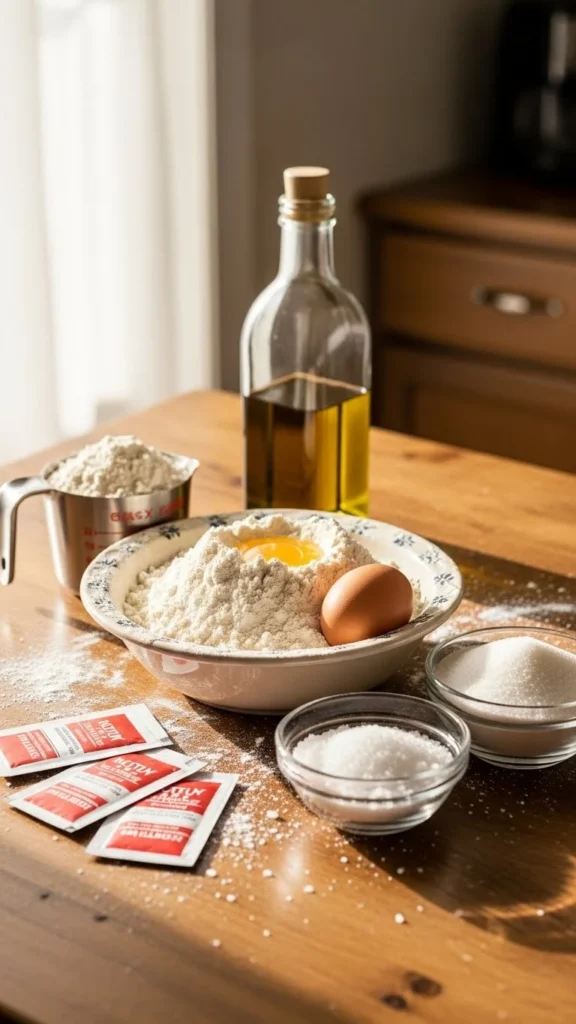
Measure Ingredients Accurately
Bread baking is more science than guessing. Too much flour or too little liquid can make dough stiff and prevent it from rising well.
Tips for accuracy:
- Spoon flour into your measuring cup, then level it.
- Don’t pack flour down.
- If possible, use a kitchen scale for consistent results.
Your dough should feel soft and slightly tacky, not dry or hard.
Knead Until the Dough Is Elastic and Smooth
Kneading builds gluten, which traps air and allows the loaf to rise upward instead of spreading outward.
How to tell when it’s ready:
- Dough feels smooth, not sticky
- It springs back when lightly pressed
- You can stretch it thin without tearing (windowpane test)
Knead by hand for 8–10 minutes or use a stand mixer for 5–6 minutes. Don’t rush this step — good structure equals good rise.
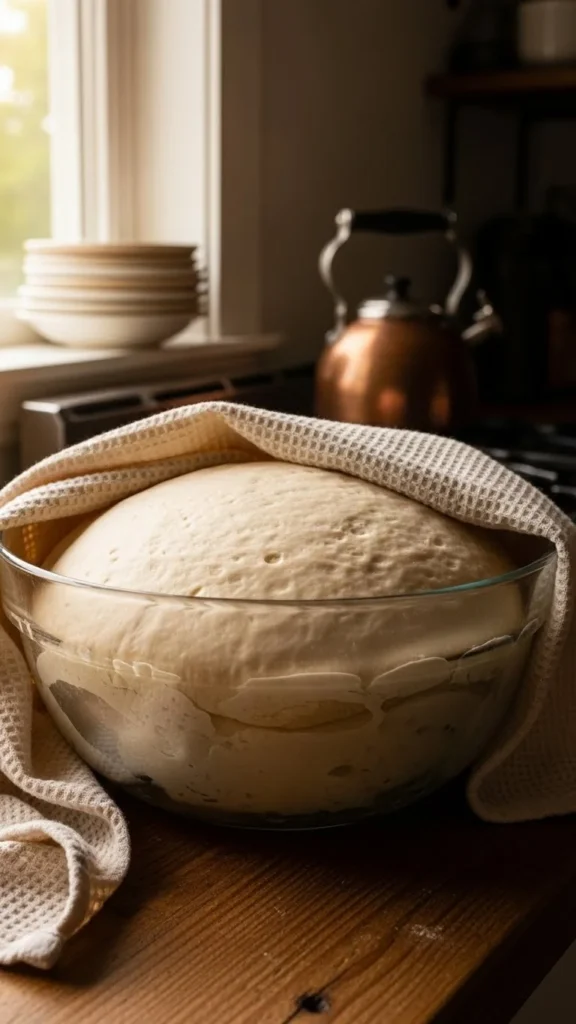
Let the Dough Rise in the Right Environment
A warm, draft-free spot helps yeast work its magic.
Best places to proof dough:
- Inside a turned-off oven with the light on
- Near a sunny window (not direct heat)
- On top of the fridge
Cover the dough with a damp towel or plastic wrap so it doesn’t dry out.
Don’t Skip the Second Rise
Many beginners rush this step, but the second rise is what gives your loaf height and softness.
After shaping your dough:
- Place it in the loaf pan or shape it on a tray
- Let it rise again until puffy (about 30–45 minutes)
- Gently press the dough — it should slowly spring back
This step allows the gluten to relax and traps more air for oven spring.
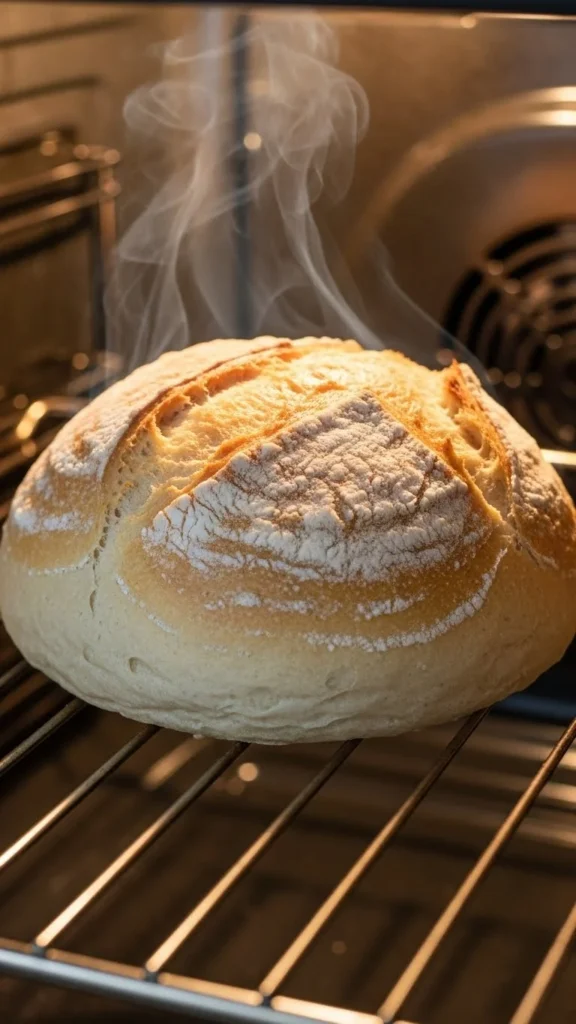
Bake with Proper Heat and Steam
The first 10 minutes in the oven are crucial. Heat causes rapid yeast activity and steam helps the loaf expand before the crust sets.
For better rise:
- Preheat the oven fully (no shortcuts)
- Place a small oven-safe pan of hot water on the bottom rack
- Avoid opening the oven door early
Steam keeps the crust flexible so your loaf can rise higher instead of cracking too soon.
Let the Bread Cool Before Slicing
It’s tempting, but cutting too soon can collapse the loaf. Cooling allows the internal structure to set properly.
Best practice:
- Cool for at least 30–45 minutes
- Place on a wire rack for airflow
- Slice once fully set
Your patience will be rewarded with clean slices and a better crumb.
Common Mistakes That Flatten Loaves
Avoid these loaf-killers:
- Using water that’s too hot
- Adding too much flour during kneading
- Under-kneading the dough
- Rushing the rise times
- Baking in an oven that isn’t fully preheated
Fixing even one of these can dramatically improve your results.
Final Takeaway
Beautifully risen loaves come from understanding yeast, respecting rise times, and handling dough gently. You don’t need professional tools — just patience, warmth, and a little practice.
Once you master these basics, every loaf will rise taller, lighter, and more impressive than the last.
Save this guide for your next baking day — your future loaves will thank you! 🍞

Leave a Reply